


It had to happen. The new iPad has been wrapped it tea towels and jumpers all week. Finally it found a baggy home in the laptop case, but when I had to take the laptop out I was sans case and I knew I needed to do something makeshift whilst The Pony decided which case to buy for it. So I made a plan.

You need:
Outside material - I used collar felt which tailors use. It's quite cheap but very thick. You can buy it in John Lewis.
Inside material - I starched some cheap stripey material I got for £4 in Borowicks on Berwick Street in SoHo. They have lots of cheap material.
Wadding - I used offcuts of stuff I had. It doesn't really matter what you use as long as you think it thick enough to do the job.
Thread - I used some neon thread to match my inside lining.

Step 1 - I cut all the material to size using the above diagram. These are pretty rough measurements which allowed me to cut things down after I had sewed them which I find helps to make things look more perfect. You need 2x the inner fabric and the wadding which you need to sew together at the base unless your material is long enough for you to cut one long bit. My stripey material wasn't long enough so I sewed two bits together not worrying about matching up the pattern as this will be at the bottom of the case.
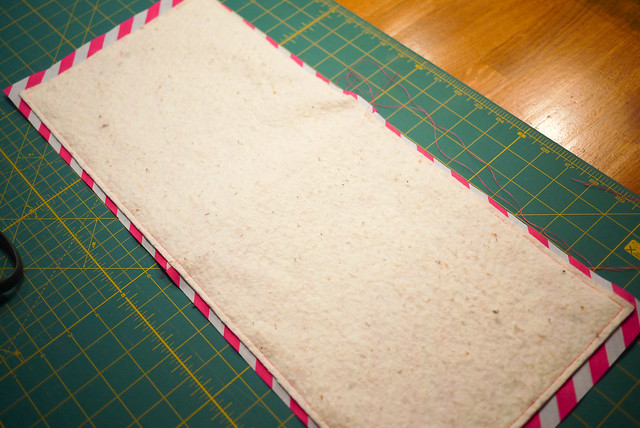
Untrimmed
Step 2 - I sewed the inner material, fabric side down, to the wadding with a 1/4 inch seam leaving a 2-3 inch gap in the middle so I could turn the fabric inside out. (Because the materials are different sizes I always follow the smaller piece and have that on top when I am sewing). I then trimmed the inner fabric down to match the smaller wadding size leaving a bit to turn in on the gap I created which you can just sew together after turning. No one will really see it so I didn't do anything fancy, I just whizzed over it on the machine.
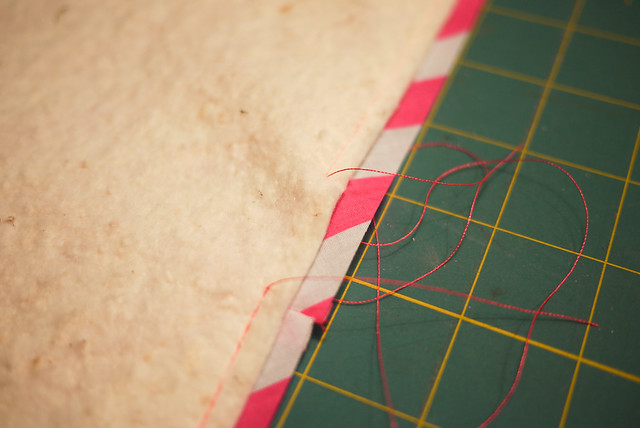
Mistake No.1: My gap is two small. I had to unpick it. I only left an inch. Boo.
Mistake NO.2: See I tried to be neat with my seams which is often important in intricate patchwork. I ironed them out, then forgot and sewed over wrongly on the left. Boo. It's not important but it's good practice. You can see this is the trimmed version with the bit left to turn over the gap.
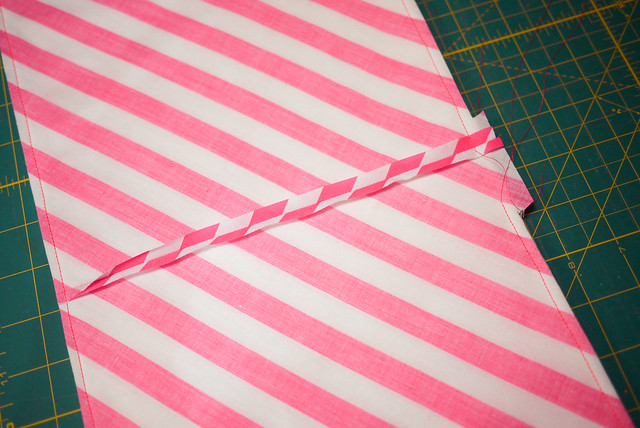
Step 3 - So you have two long rectangles. I folded my felt in half, ironed it flat, then I folded my material and wadding in half and pinned the top of the material to the felt material side up. I should have perhaps spent more time being accurate as you want the tops to line up. Then I unfolded it and sewed a straight line across each small edge of the material (it being smaller, I followed that edge). Thus anchoring it to the felt.
Instead of tying off threads I used Angela's technique of starting off with a really small stitch length and doing a back stitch by putting the machine in reverse before making my stitch normal and carrying on. I only do it for about 5 stitches but it means you can just cut the thread without thinking about it unraveling.
Step 4 - After this I folded it back in half and sewed both the long sides. I didn't want my wadding to be in my seam as it would make it too bulky so I sewed the felt together around the edge of the wadding (except the top! You need to get in it) Does that make sense? It means the wadding comes away from the inside if you push it, but I didn't think it would matter if an iPad was all that was going in it.
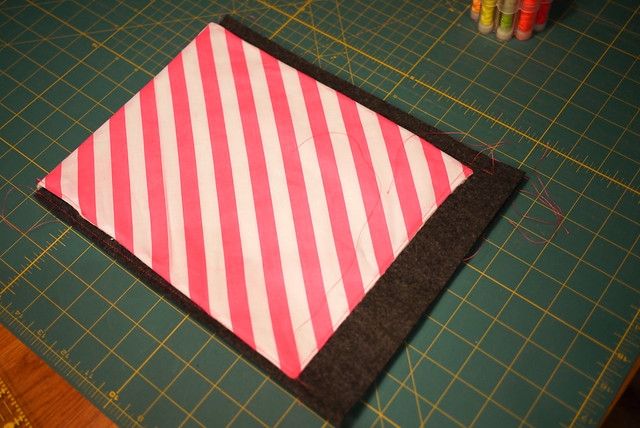
Step 5 - I then trimmed away the felt leaving 1/4 of felt at the edges and 1/2 inch at the top opening so the lining wasn't too visible.
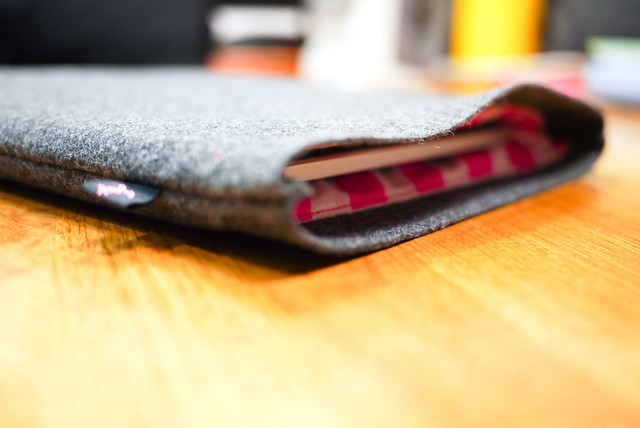
And it looks like this! iPad case. Done. In about an hour.
Update! I made another case here


13 comments:
Awesome!
Nice! Thanks for the tutelage. (I would have to hand-stitch it because I do not have a machine.)
I am sure hand-stitching would work just as well
Love how you made this -Thanks for the tutorial! I love your little pink tag as well - where on earth did you find those?!
It's a Cash's name tape which you can get from this website:
http://www.minilabels.co.uk
They have loads of colour combinations you can order. I have managed to build up quite a few over the years!
Great case, inspired me to make one for my new laptop. I am a new crafter and new blogger and just surfing around looking for inspiration for myself and my own new site annabelleserendipity.blogspot.com Thanks for sharing.
Thank you very much for the detailed instructions.
No problem. I hope it works out for you. Doing an explanation is a bit of a new thing for me.
In this tutorial..I can able to design my own ipad case and its very challenging, it also like performing an art.. I'am not that good in sewing but atleast I will try.. And I hope I can manage to do it perfectly..
Thanks for sharing!..
Pat
ipad cases
Just came across this, Super Cute!! Any suggestions for adding a closure for the top (Simple button, a few snaps, envelope style)? I'm super super new to sewing, so any idea would be great!
velcro would probably work well. But buttons would also work. I would just suggest nothing metal that might damage the ipad itself.
I made this for my son's ipad. He was thrilled with it. Now he wants me to make another for his MacBook. Thanks for the great directions. Oh, I attached a little red apple to the outside cover.
I will try this with DIY.
regards,
Clyde @ E_cell
Post a Comment